Expert Steps for a Shiny Clean Stovetop: Tackling Burnt Residue
Posted on 26/05/2025
Expert Steps for a Shiny Clean Stovetop: Tackling Burnt Residue
A gleaming stovetop isn't just an aesthetic win--it's essential for a safe, hygienic, and efficient kitchen. However, few cleaning challenges are as stubborn, frustrating, and seemingly impossible as burnt residue on your stovetop. Whether you have a gas, electric, or glass cooktop, learning how to clean burnt stovetop grime can restore your appliance and give your kitchen a fresh new shine. In this comprehensive guide, you'll discover expert steps for a shiny clean stovetop, including advanced tips for removing burnt-on residue and maintaining a spotless cooktop.

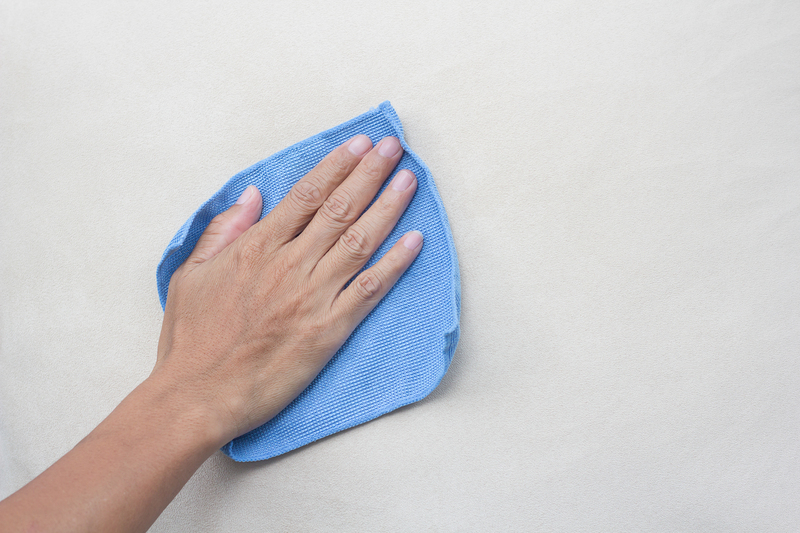
Table of Contents
- Why a Clean Stovetop Matters
- What You Need: Cleaning Supplies Checklist
- Pre-Cleaning Preparation
- Step-by-Step Guide: How to Clean Burnt Residue from Stovetop
- Specialty Tips for Different Stovetop Types
- Maintaining a Shiny, Clean Stovetop
- Preventive Practices: Avoiding Burnt-On Messes
- Frequently Asked Questions
Why a Clean Stovetop Matters
Keeping your stovetop clean goes far beyond aesthetics. Burnt residues can harbor germs, attract pests, cause unpleasant odors, and even affect the taste and quality of your food. In severe cases, built-up grime may become a fire hazard or damage your appliance. Regular stovetop cleaning ensures:
- Efficient Heating: Burnt-on deposits impede heat transfer, making burners work harder.
- Longer Appliance Life: Removing residue protects surfaces and components.
- Food Safety: A sanitary cooktop prevents cross-contamination.
- Kitchen Appeal: A shiny cooktop elevates the overall look and feel of your space.
What You Need: Cleaning Supplies Checklist
Before you begin tackling burnt stovetop residue, gather the best cleaning materials for the job. Here's a checklist for a professional-level clean:
- Soft microfiber cloths or sponges
- Baking soda (sodium bicarbonate)
- White vinegar (distilled)
- Dish soap
- Plastic scraper or old credit card
- Non-abrasive scrubbing pad
- Warm water
- Rubber gloves (to protect skin)
- Optional: Commercial stove-top cleaner (for difficult marks)
Tip: Avoid using steel wool, harsh abrasives, or razor blades (unless specifically approved for your stove variety), as these can scratch delicate surfaces.
Pre-Cleaning Preparation
Preparation ensures safety and maximizes results. Follow these essential pre-cleaning steps before handling stubborn burnt residue:
- Wait for Cool-Down: Always allow your stovetop to cool completely before cleaning to avoid burns.
- Remove Removable Parts: Take off burners, knobs, or grates (if possible) to access every area.
- Dust and Debris First: Use a dry cloth or brush to wipe away loose crumbs and ash.
- Soak Removables: If safe, soak grates and knobs in a mixture of hot water and dish soap while you clean the main surface.
Now, you're ready to tackle even the most stubborn burnt-on messes!
Step-by-Step Guide: How to Clean Burnt Residue from Stovetop
Achieving a shiny clean stovetop is all about technique, gentle abrasion, and the right products. Let's break down the expert steps:
Step 1: Apply a Cleaning Solution
- Mix two parts baking soda with one part water to create a thick paste.
- Optional: For extra grease-busting power, add a few drops of dish soap or vinegar.
- Spread the paste generously over burnt residue and stains, focusing on heavily soiled spots.
Let the solution sit for at least 20-30 minutes. Baking soda softens burnt residue, making it easier to lift.
Step 2: Scrub Gently and Remove Debris
- Using a non-abrasive scrubbing pad or sponge, gently scrub in a circular motion. Avoid scratching the surface.
- If necessary, use a plastic scraper to lift stubborn, stuck-on char. Be careful not to gouge the finish!
Step 3: Rinse and Wipe Clean
- Wipe the stovetop with a clean, damp microfiber cloth to remove all residues of baking soda and grime.
- Rinse as needed, ensuring no cleaning products are left behind.
- Dry with a soft towel for a streak-free shine.
Step 4: Address Persistent Stains
- For stubborn, burnt-on marks, repeat the baking soda paste process or use a small amount of vinegar directly on the area.
- Let vinegar fizz for several minutes, then follow up with gentle scrubbing and rinsing.
Step 5: Clean Grates, Knobs, and Burners
- Scrub each water-soaked component with soapy water and a brush.
- Rinse, dry thoroughly, and ensure there is no moisture before reassembling to avoid rust or electrical issues.
Pro Tip: If your burners are electric, do not submerge them--wipe gently with a damp cloth instead.
Specialty Tips for Different Stovetop Types
Gas Stovetops
- Carefully lift off grates and burners before cleaning.
- Always make sure burners are completely dry before relighting.
- Check gas ports are clear of debris using a toothpick if needed.
Glass or Ceramic Cooktops
- Never use abrasive pads, steel wool, or harsh chemicals.
- Use a specialized glass cooktop cleaner for tough stains, or rely on vinegar and baking soda for a non-toxic approach.
- Use a razor blade scraper only if manufacturer-approved--keep the blade flat to avoid scratching.
Electric Coil Stoves
- Unplug coils (if removable) and do not immerse them in water--wipe instead.
- Remove pans/drip trays and soak in hot, soapy water before scrubbing.
Induction Cooktops
- Like glass, use only non-abrasive materials and cleaners.
- Induction surfaces often have touch controls that should not get excessively wet--wipe carefully.
Maintaining a Shiny, Clean Stovetop
The key to a shiny clean stovetop is regular maintenance. Here's how to keep your cooktop gleaming day after day:
- Wipe spills immediately after cooking to prevent them from hardening.
- Do a weekly deep clean using the baking soda method, even if stains aren't visible.
- Polish glass tops using a microfiber towel and a few drops of vinegar for extra shine.
- Inspect grates and burners regularly for hidden buildup.
Preventive Practices: Avoiding Burnt-On Messes
- Use pot covers: to minimize boil-overs.
- Watch your heat: Avoid high heat except when necessary to reduce scorching.
- Use splatter guards: when frying or simmering.
- Choose flat-bottomed cookware: to promote even heating and prevent hot spots.
- Never leave food unattended on the stove.
The sooner you clean up a spill or splatter, the less likely it will become a burnt-on headache.
Conclusion: Shine On with a Pristine Stovetop
A shiny clean stovetop is absolutely achievable with the right tools, expert steps, and consistency. Whether you're fighting years-old burnt residue or maintaining a like-new cooktop, these proven techniques help keep your kitchen sparkling and safe. Remember patience and prevention are your biggest allies. Happy (and shiny) cooking!
Want more household cleaning expertise? Browse our other guides for keeping every surface in your home spotless and inviting!
Latest Posts
Step Up Your Car Cleaning Routine with Pro Insights
Enliven Your Jewelry Collection with these Cleaning Tips
Proven Techniques for Pristine uPVC Window Frames
Goodbye Grease: An Easy Guide to Restore the Shine on Your Enamel Oven Trays
